A Morlock's Guide to Lua, Part 1: Running Lua
Five ways to print "bees are good" with one of the fastest interpreters on Earth
Welcome, Neovim Morlocks! I’m Nat Bennett, and I shrieked involuntarily while watching this video about how Pamela Fox uses vi.
You’re reading Mastering Neovim, a newsletter about telling the computers that they’re not in control anymore — you’re in control. Especially of Neovim.
Today we’re talking about Lua. You’re going to need it to configure Neovim. Not necessarily a lot, but sometimes plugins will require that you set variables and call functions in order to configure them. You’ll also probably need to understand at some point how Lua’s modules and imports work, because sometimes plugins are going to involve importing Lua code. And occasionally you’ll need to experiment a bit in order to get something working, so you’ll want a fast way to run a bit of Lua available to you.
So this is the first in a three-part series about Lua. Once the other two parts are posted there’ll be links back to them here.
Running Lua
Using Lua to configure NeoVim
First up: Running Lua.
There are many ways to run Lua, because one of the big advantages of Lua is that the binary that interprets it is tiny, so it’s ideal for embedding. As NeoVim users, we’ll focus on the following five methods that are likely available on your workstation right now, or with just a little work.
In NeoVim, from init.lua
In NeoVim, as a plugin
In NeoVim, from the terminal
In the developer playground
Using a standalone Lua interpreter
Let’s try running a print command using each of these five methods. I’m going to use the following snippet:
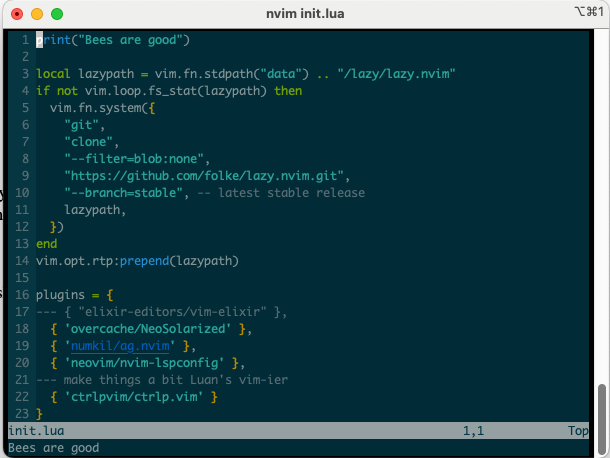
print("Bees are good")The first way to run Lua is in NeoVim, from init.lua. When you start NeoVim, it checks for a config file and executes that file. From the docs:
Nvim supports using
init.vimorinit.luaas the configuration file, but not both at the same time. This should be placed in your config directory, which is typically~/.config/nvimfor Linux, BSD, or macOS, and~/AppData/Local/nvim/for Windows.
So at the top of my init.lua I’ll add my print statement. Now when I start Vim I see:
“Bees are good” got printed out to the terminal.
Running a lua script as a plugin is pretty similar. It’s the next few sentences in the docs.
If you'd like to run any other Lua script on startup automatically, then you can simply put it in
plugin/in your 'runtimepath'.
As is often the case when the word “simply” pops up in documentation, there’s a bit of a mystery here: What actually is the value of runtimepath? If we click on that link we’ll see that it’s a setting, and even the default value… if we also know the value of “$XDG_CONFIG_HOME". I don’t know about you, but that one’s new to me.
I can make a guess that the runtimepath, whatever it is, probably includes the config directory, but if I want to be sure I’ll need to check the value of runtimepath directly. (If there’s one thing I know about PATH-type values, it’s that all kinds of things might mess with ‘em, so it’s good to check the actual runtime value in the real environment.) Turns out there’s a simple way to do this with Vimscript that works great in Nvim:
:set runtimepath?Throw that question mark on there and it returns the current value of the setting.
Anyway — now that I’ve confirmed that runtimepath does in fact start with ~/.config/nvim, I can take that print statement, put it in a file called bees.lua, and put that in the ~/.config/nvim/plugin. Now when I start Nvim I should see basically the same thing that I did by putting that print statement in my config file.
Neat!
So that brings us to running Lua in Nvim, from the terminal. This one’s really (whoops I’m about to use that word) simple. There’s a built-in Ex command called :lua that just runs whatever you pass it.
So for instance this
Should produce this
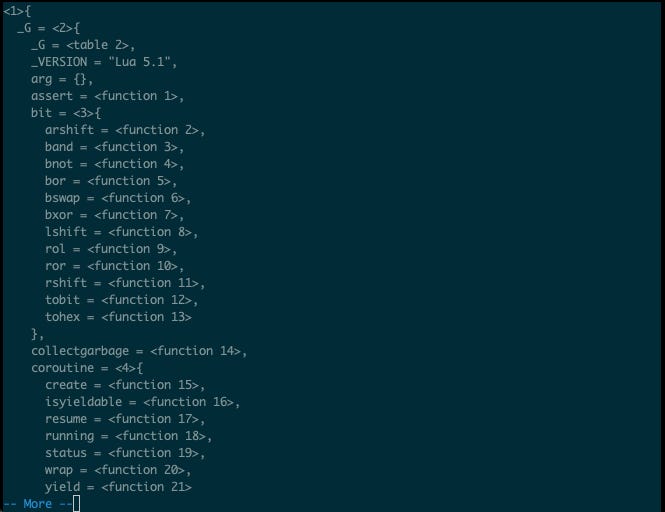
This is really handy for quick diagnostics, like :lua print(vim.inspect(package.loaded))
It’s not quite a REPL since you’ll have to use print statements to actually see anything, but it’s pretty close.
Sometimes, though, you’re going to need to write more than a line or two of Lua in order to understand something about the language, and you might want a “clean” execution environment that doesn’t have any of the stuff Nvim loads or your other plugins hanging around. One way to get a squeaky clean execution environment is to use a developer playground and luckily there’s a nice one right on the Lua website.
Go ahead and check out the demo programs while you’re over there, too — they demonstrate a few language features. Watch out for version compatibility, though— the Nvim project has indicated that they plan to stick with 5.1 indefinitely, and one of their reasons is that new Lua minor versions introduce breaking changes.
(The idea that Nvim will only ever include 5.1 makes me kind of nervous, since the Lua website says that they’ll never release another version of 5.1, so no CVE patches. This probably isn’t a factor for a text editor, since text editors typically don’t handle input from strangers on the internet, but it’s potentially a reason to avoid installing Nvim on a production system.)
Finally, you might want to run Lua using a standalone Lua interpreter that you’ve installed in your developer environment yourself.
To do that we’ll need to install Lua. I use asdf to manage pretty much everything these days, and happily, it has a lua plugin. The fact that Nvim is committed to using 5.1.5 makes choosing a version easy, too. So now I can add a few lines to my workstation setup script and get Lua installed
asdf plugin add lua https://github.com/Stratus3D/asdf-lua.git
asdf install lua 5.1.5
asdf global lua 5.1.5
For this to work you’ll also need a functioning C build environment, which is a little bit outside the scope of this article. The README for asdf-lua has instructions on configuring the necessary dependencies, depending on your operating system. If you have any trouble I also recommend taking a look at Trevor Blog’s guide to Lua Version Management with asdf-lua — he’s the maintainer of the installation plugin.
(You might not normally set the version with global like this and instead rely on a .tool-versions file in the repository you’re working in — but if you’re only ever using Lua for Nvim then you’re only ever using this version, so it’s easier just to set it.)
Now we can start the lua interpreter in interactive mode and run commands.
➜  workstation git:(main) ✗ lua
Lua 5.1.5  Copyright (C) 1994-2012 Lua.org, PUC-Rio
> print("bees are good")
bees are good
We can also pass a script to the interpreter directly
➜  plugin lua ./bees.lua
bees are good
And, finally, we can add a shebang to our script and execute it directly.
#!/usr/bin/env lua

print("bees are good")
➜ plugin nvim bees.lua
➜ plugin chmod u+x bees.lua
➜ plugin ./bees.lua
bees are goodIn conclusion
PHEW
In practice I expect to mostly use
:lua print("bees are good")when I’m trying to figure out some bit of syntax, and maybe occasionally to drop some things straight into the plugins folder if I get really crazy. But, I wanted to know All The Ways, and now you do, too.
Hopefully! We covered a ton of ground here and this is an area where it’s really easy to miss some fundamental assumption or detail of my local environment, so please, if you have any trouble at all, let me know. You can leave a comment on Substack, reply to this post, or send me an e-mail at nat@simplermachines.com.


